Congratulations on signing up for Radix! This quick guide will walk you through the initial steps to help you get started with our platform after syncing your PayPal or Stripe accounts.
Let’s get started!
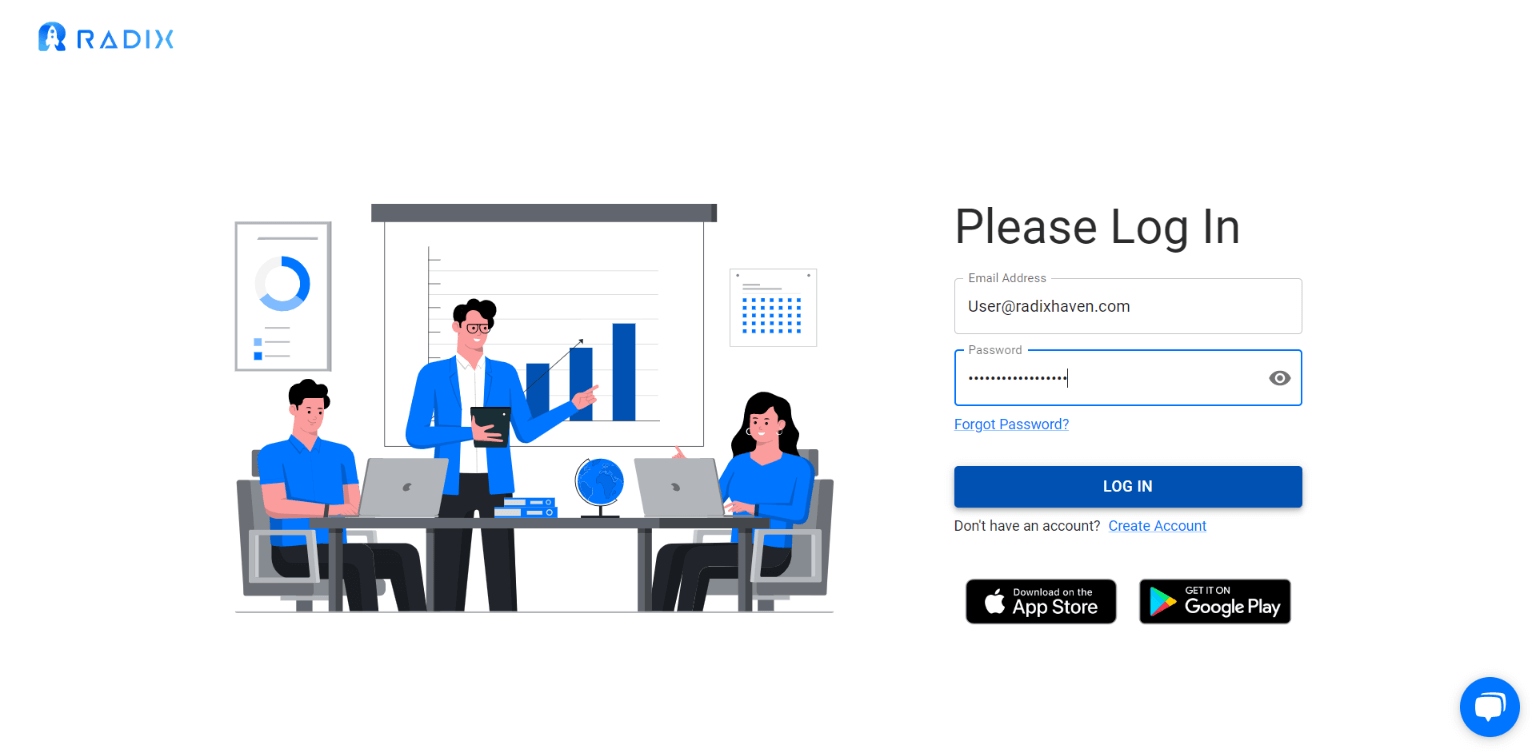
Step 1: Logging In
- Open your web browser and navigate to www.radixhaven.com
- Click on the “Login” button located in the top right corner of the homepage.
- Enter your registered email address and password.
- Click on the “Login” button to access your Radix account.
Step 2: Dashboard Overview
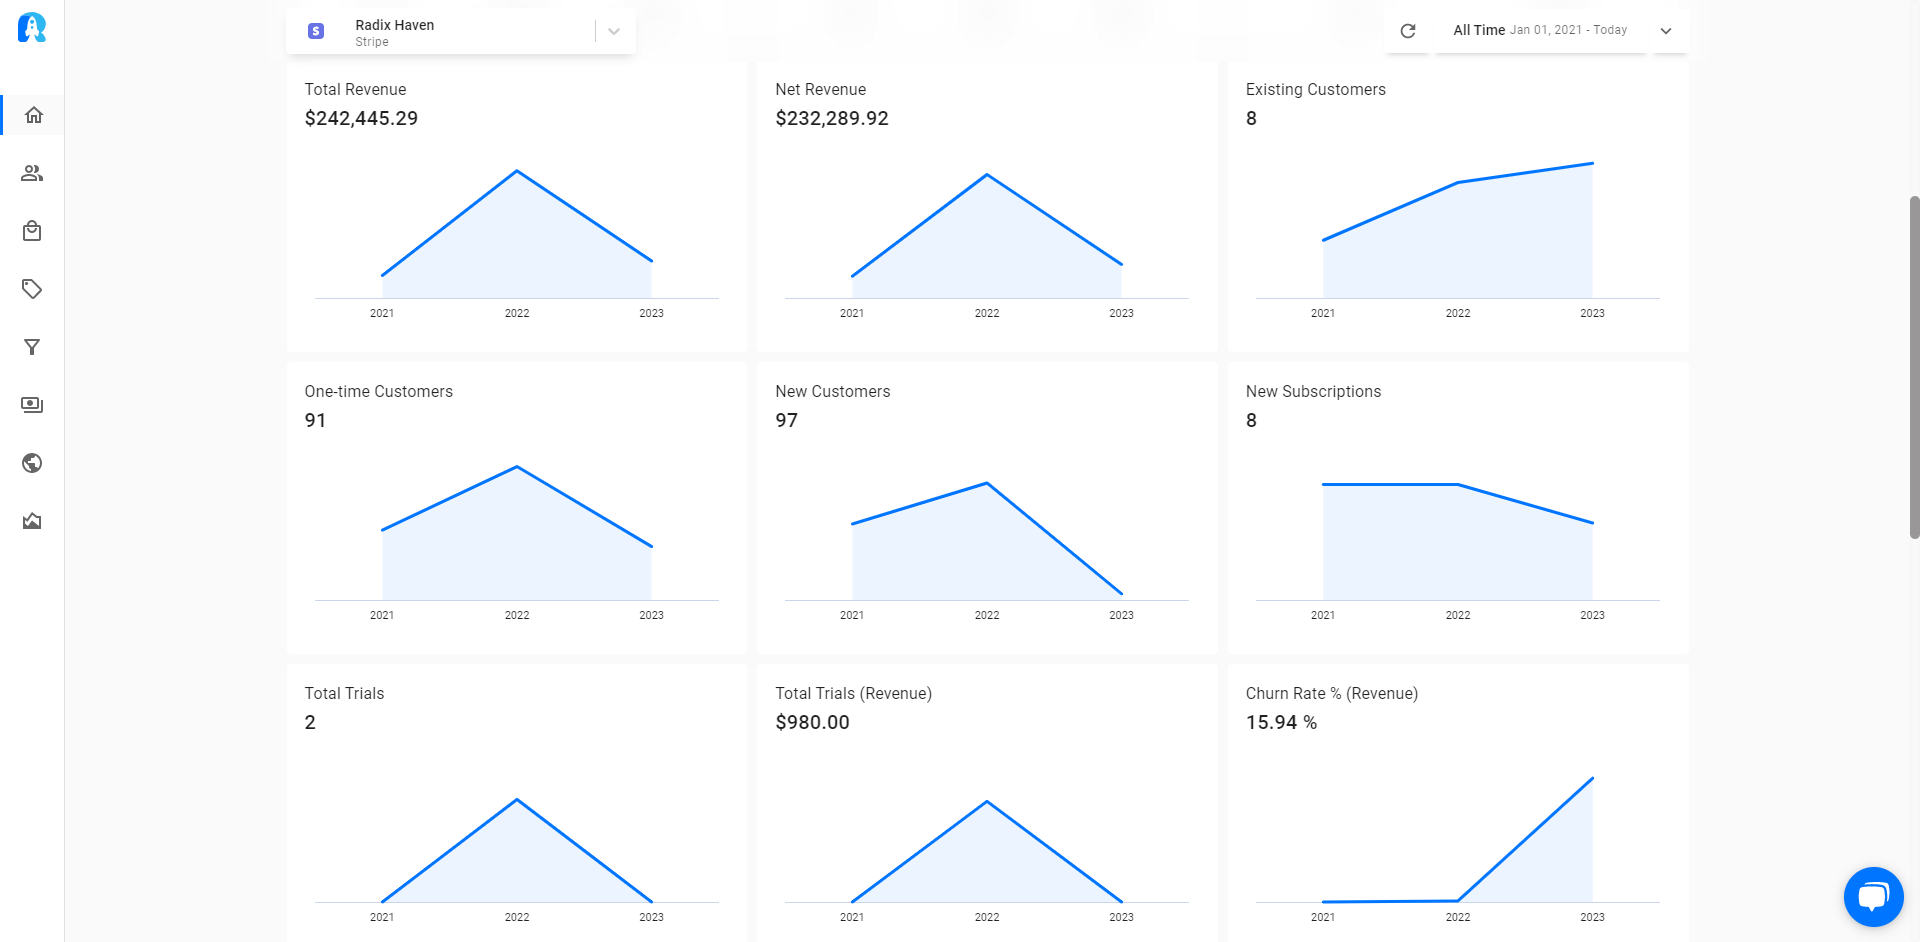
- After logging in, you will be directed to your account dashboard.
- Take a moment to familiarize yourself with the different sections and navigation options available.
- The dashboard provides an overview of your customers, products, subscriptions and various account settings..
Step 3: Inviting Your Team
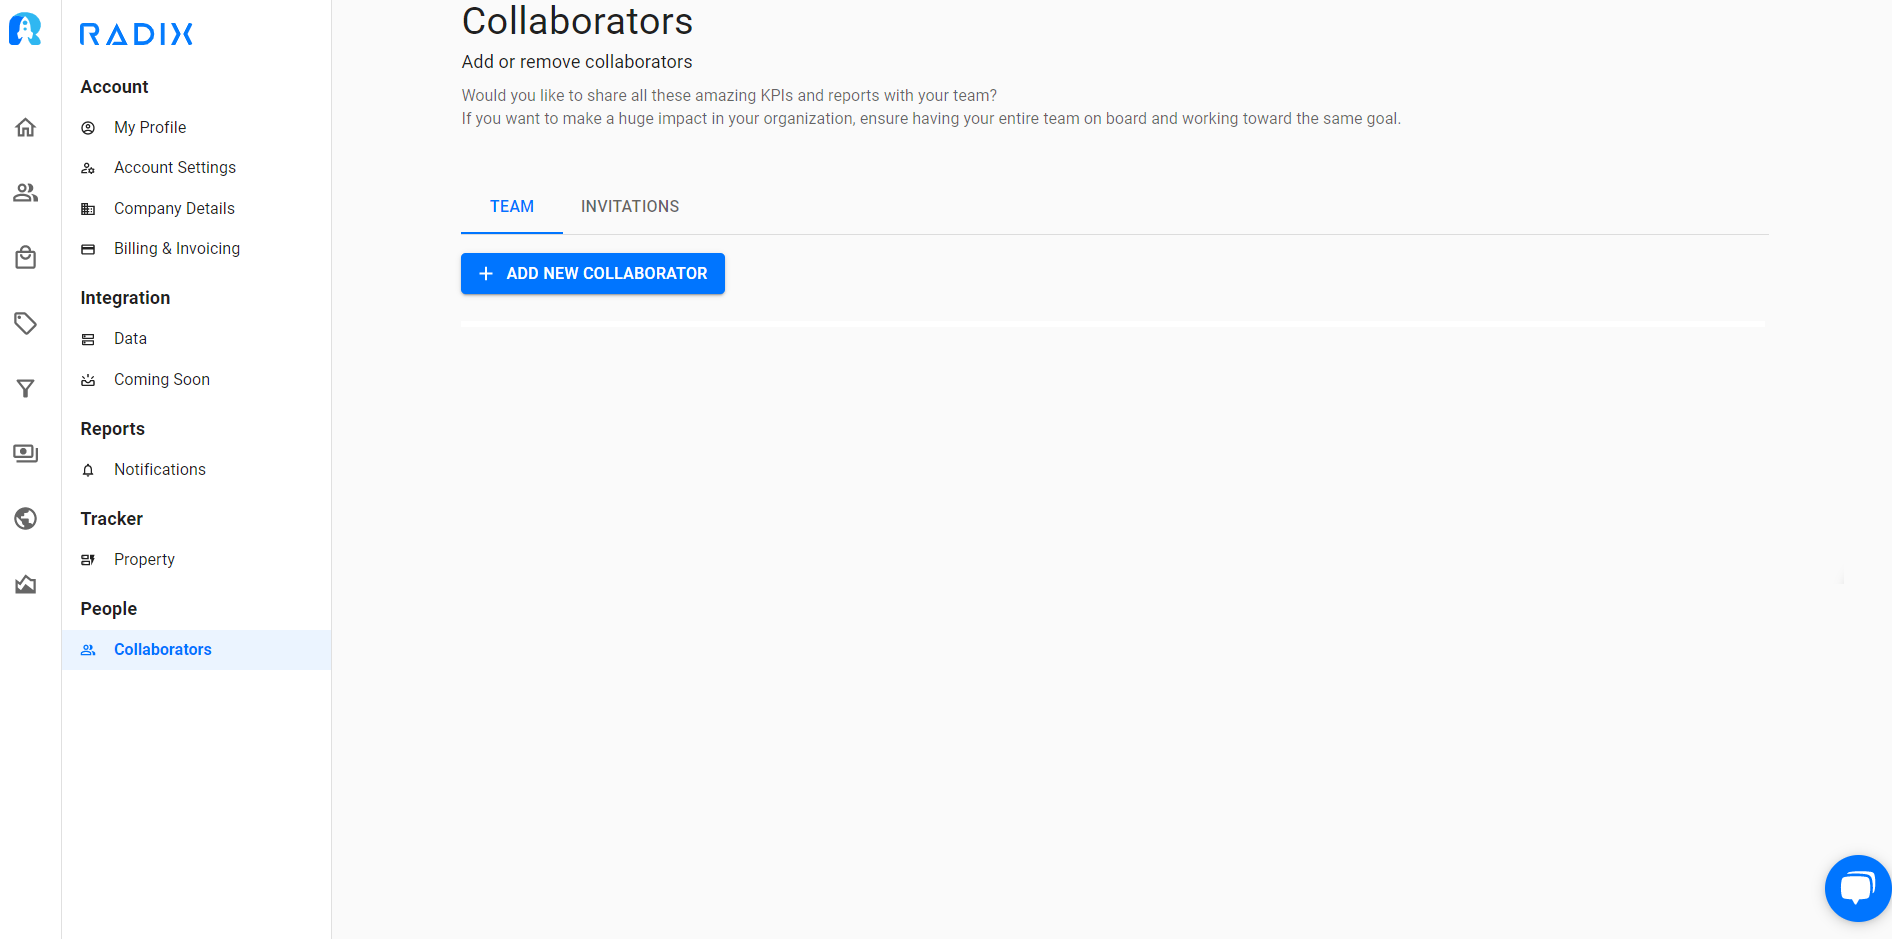
Collaborate efficiently by inviting your team members to join your new radix account.
- Click on the “Collaborators” tab in the account settings.
- Choose the “Add new collaborator” option.
- Enter the email addresses of your team members and click “Send Invitations.”
- Your team members will receive email invitations to join your Radix account.
Step 4: Segmenting Customers
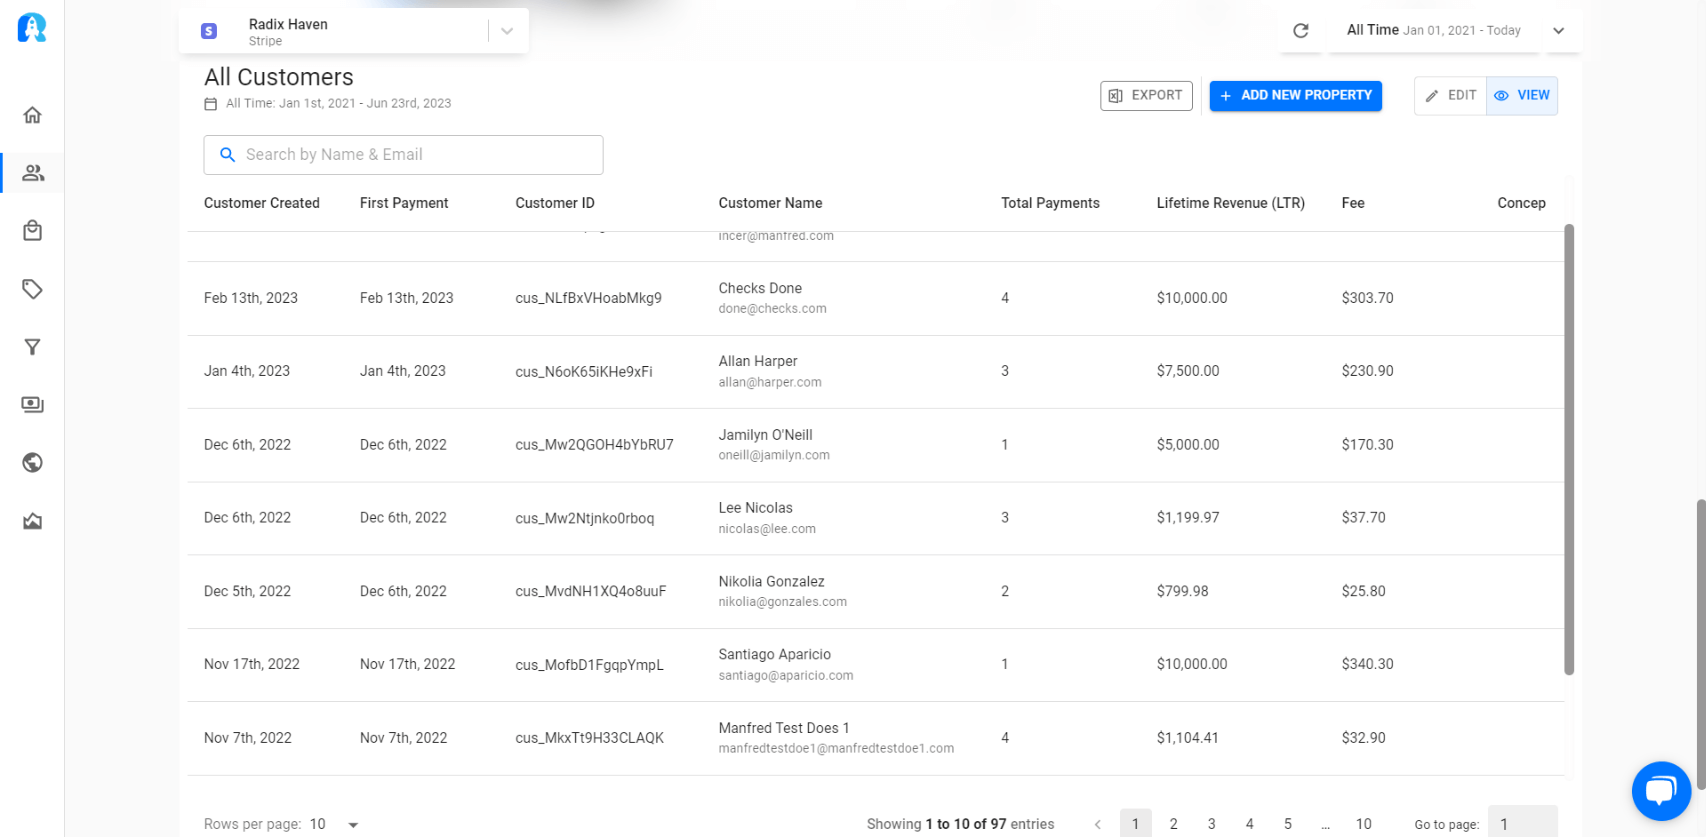
- Utilize customer segmentation to personalize your marketing and sales efforts.
- Click on the “Customers” tab in the top navigation menu.
- Use the available filters and segmentation options to group your customers based on specific criteria.
- Save the segments for future use or targeted campaigns.
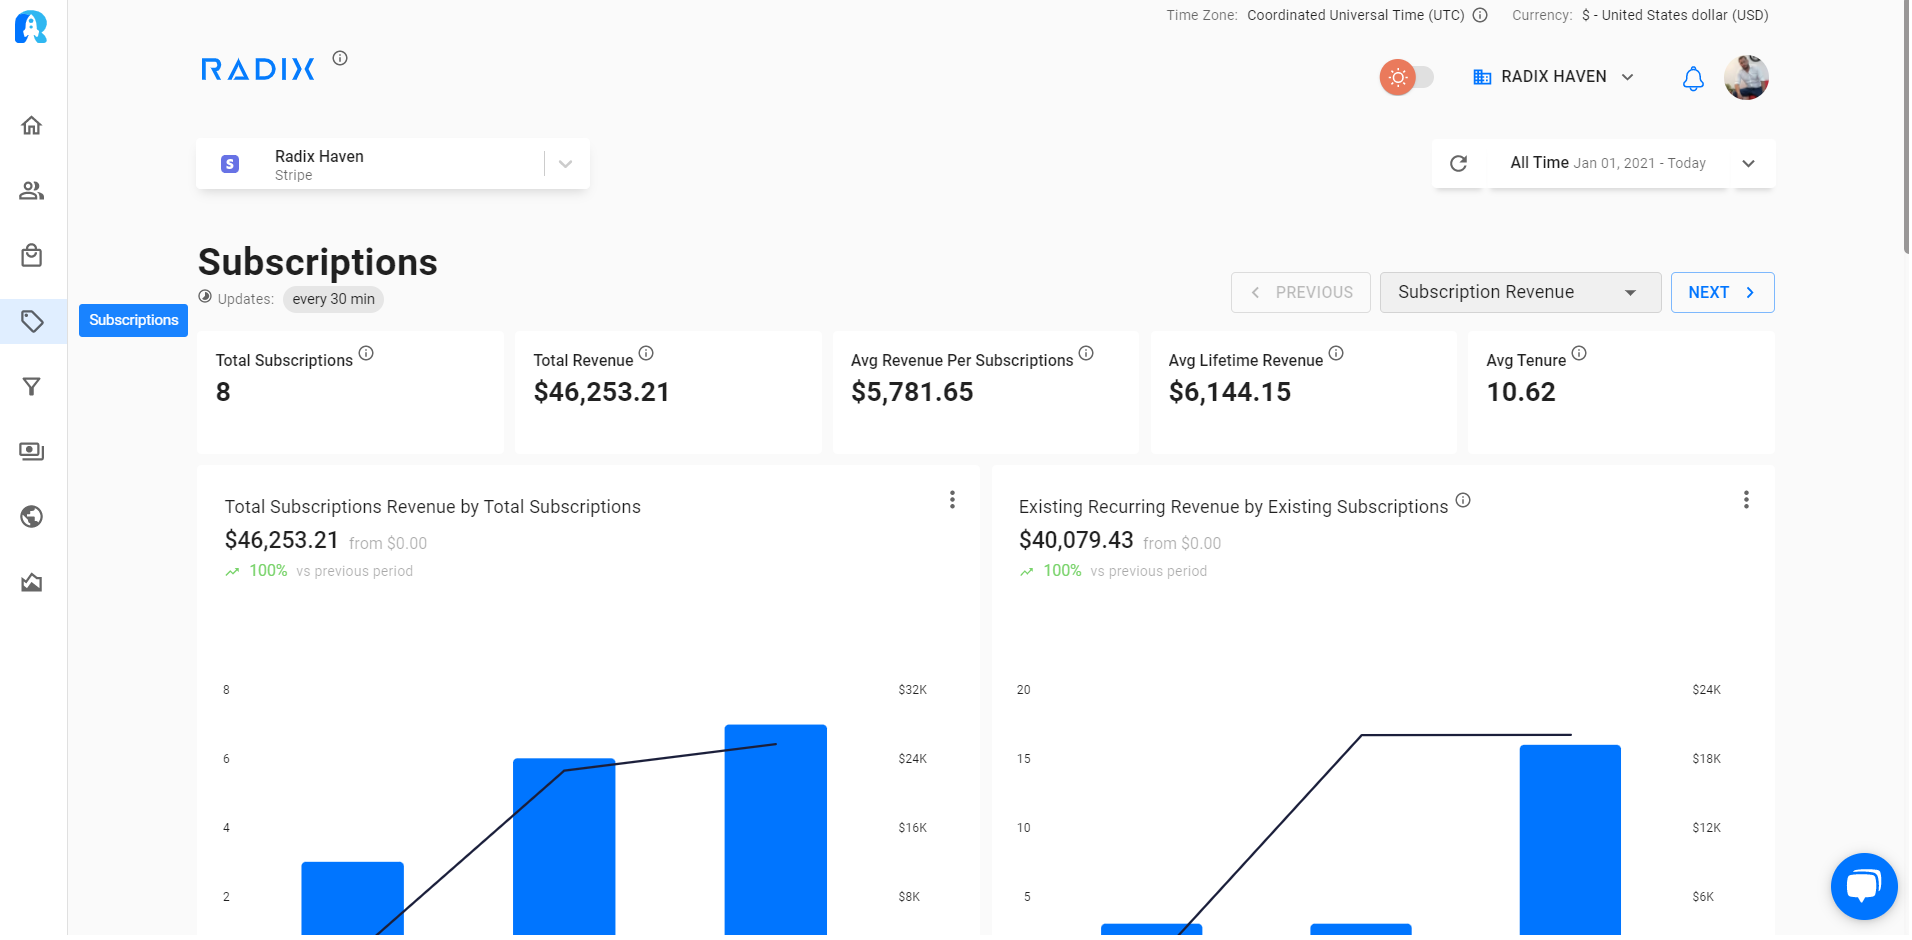
Step 5: Checking MRR/ARR Subscriptions or Best Selling Products
If you’re a SaaS oe ecommerce business, analyze your MRR/ARR subscriptions or best-selling products for valuable insights.
- Click on the “Subsctiptions” or “Products” tab in the top navigation menu, depending on what you would like to see.
- Explore the relevant reports or dashboards to gain an understanding of your subscription metrics or product performance.
Step 6: Turning on Notifications
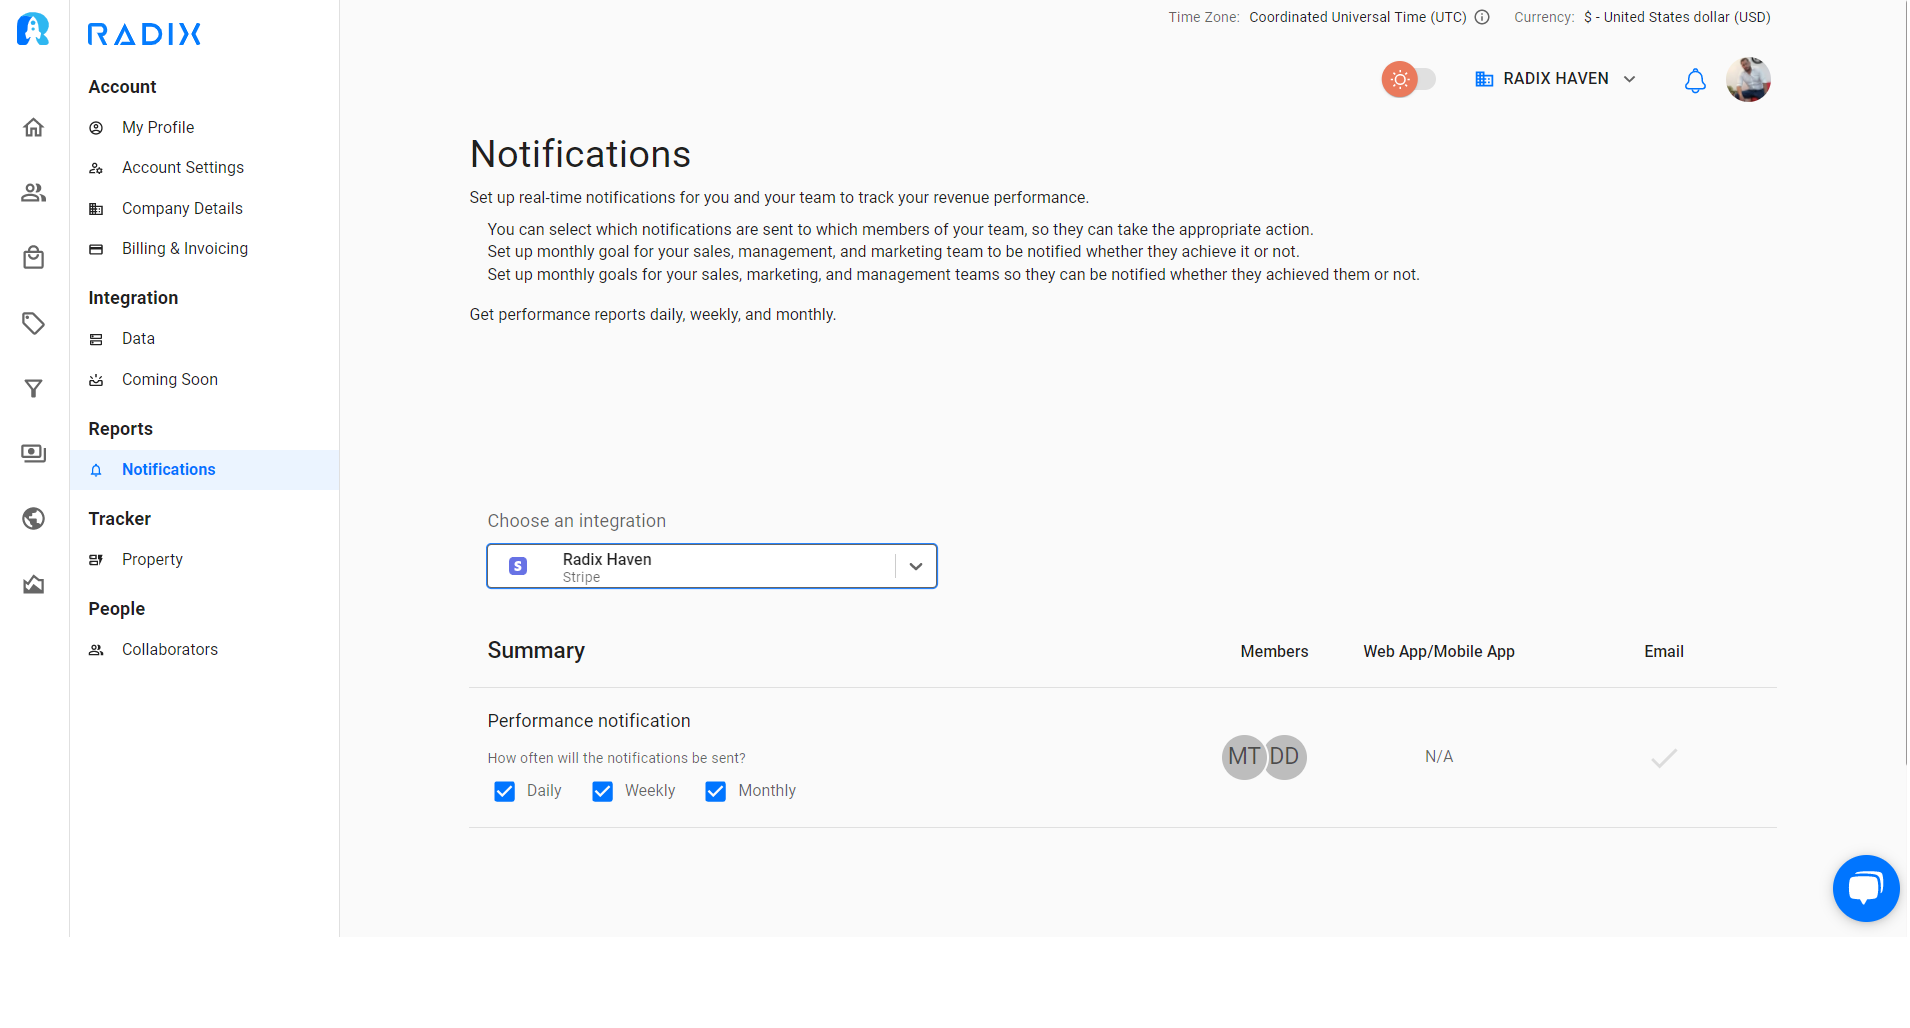
Stay informed about important updates and activities on your numbers.
- Click on the “Settings” tab in the top navigation menu.
- Choose your integration
- Select the “Notifications” option.
- Customize your notification preferences by enabling or disabling specific notification types.
- Save your settings to start receiving relevant notifications.
Step 7: Start Using Radix
Now that you have synced your payment accounts, invited your team, segmented customers, checked your MRR/ARR subscriptions or best selling products (if applicable), and turned on notifications, it’s time to make the most of Radix.
- Explore additional features such as Forecasting, Trial AI, and customer maps.
- Reach out to our support team for any assistance or advanced features.
- Take control of your business operations with Radix today!
Start using Radix to streamline your revenue metric game, collaborate with your team, gain valuable customer insights, and optimize your business performance. Maximize your potential and experience the power of our platform.
